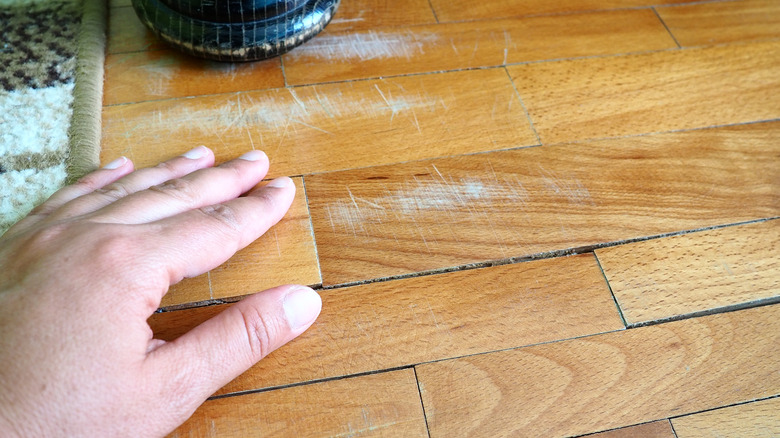
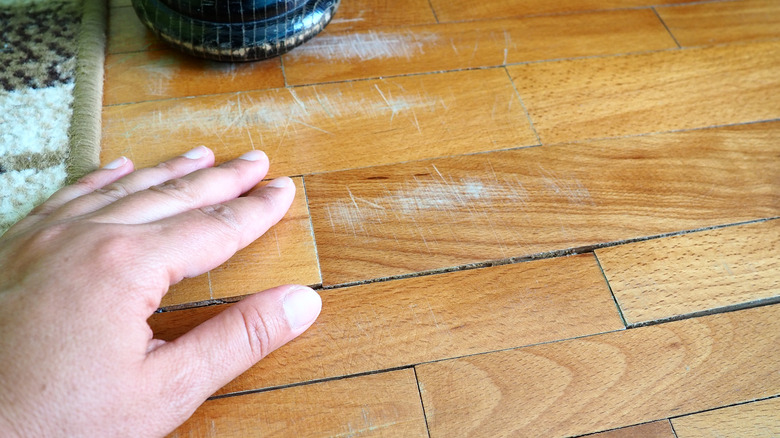
Laminate flooring and luxury vinyl tile (LVT) are popular flooring options because they are affordable, easy to maintain, and durable. However, like all floors, laminate and LVT can become scratched over time due to normal wear and tear. Minor scratches can diminish the look of your floor, while deep scratches can cause the surface layer to peel or warp.
The good news is that laminate and LVT floor scratches can often be repaired without having to fully replace the planks or tiles. With simple tools, supplies, and DIY techniques, you can make a scratched floor look like new again. Here’s how to repair damage and restore your laminate or luxury vinyl tile flooring.
Assess Damage and Obtain Supplies
First, closely inspect the scratched area and determine the extent of the damage. Shallow, surface-level scratches can be fixed with floor polish or scratch cover products. Deep gouges or chips, however, require floor filler to smooth and flatten the vinyl or laminate surface.
For minor scratches, you may only need fine sandpaper, laminate floor polish, a rag/clean-up pad, and a putty knife. For filling deeper scratches or gaps, gather floor filler/patch products formulated specifically for laminate or LVT flooring, painters’ tape, a plastic putty knife, and a rubber mallet. Be sure the filler matches your existing floor design (wood grain, tile look, etc.).
Clean and Dry Scratched Area
Thoroughly clean the scratched area before repairing. Sweep, dust mop, or vacuum to remove debris. Then wipe down the scratched planks or tiles using a laminate or vinyl cleaner, rinse with clear water, and fully dry the surface. Never apply polish, filler, or scratches cover products to a dirty or damp floor.
Apply Polish to Minor Scratches
If the blemishes are shallow surface marks, use floor polish or scratch cover products to help hide the imperfections. Rub the polish into the marks and surrounding floor using gentle pressure with a clean cloth, following the product’s application directions. Give the polish 15-20 minutes to fully dry. Apply a second coat if needed. Polish will minimally fill fine scratches with a layer of urethane coating to make them less noticeable.
Sand Out Minor Scratches
If surface markings remain visible after polish, lightly sand vertical scratches to flatten them. Secure the sandpaper to a sanding block. Gently sand the scratches using smooth, even strokes until the marks have faded. Blow, sweep or vacuum to remove sanding residue. Wipe the area clean before applying polish again.
Fill Missing Pieces or Gouges with Filler
For gouges, chips, or gaps in laminate planks or LVT tiles, you’ll need to fill in the damage with floor filler product to restore a smooth surface. Apply painters’ tape around the perimeter of the depressed area to contain the filler. First, apply a sealant if recommended by the filler’s instructions. Then, use a plastic putty knife to spread filler product over the damaged section, overfilling the area slightly. Gently tap down the filler with a rubber mallet.
Allow Filler to Dry Completely
The filler drying/curing time varies among brands. Follow the package label drying times before removing the tape border and sanding. Gently sand the patched section with fine sandpaper to smooth out the surface and create an even transition between the existing floor and filler. Use a damp mop or rinse vacuum to fully remove sanding dust.
Apply Floor Polish and Seal
To blend the repair, rub in floor polish using wide strokes that extend several inches beyond the patched area. Let it dry and add a second layer if needed for optimal coverage across the repair and surrounding floor planks or tiles. Apply a floor seal according to the polish product guidelines. Allow the floor to dry overnight before regular foot traffic use. Avoid water contact for 24 hours or as instructed by the product.
· Prevent Future Scratching and Damage
· To protect your flooring investment and minimize future repairs:
· Install felt floor protectors underneath furniture legs
· Use soft, non-marking chair casters
· Place walk-off mats at entrances
· Apply rugs in high-traffic areas
· Routinely sweep and vacuum floors
· Wipe up spills immediately
· Avoid excessive moisture exposure
With proper homeowner maintenance and timely scratch repairs, your laminate and luxury vinyl tile flooring will continue to look beautiful for years without major renovation. Learning how to hide and fill scratches as they happen extends the life of your flooring and saves you money over time.


